AI Image Upscaler that rebuilds detail instead of stretching it.
A small file stays small when you stretch it. Upscale rebuilds the detail instead, so the image holds up at full size — and if the file is noisy as well as small, run Denoise first.
First result free, full resolution·No account needed
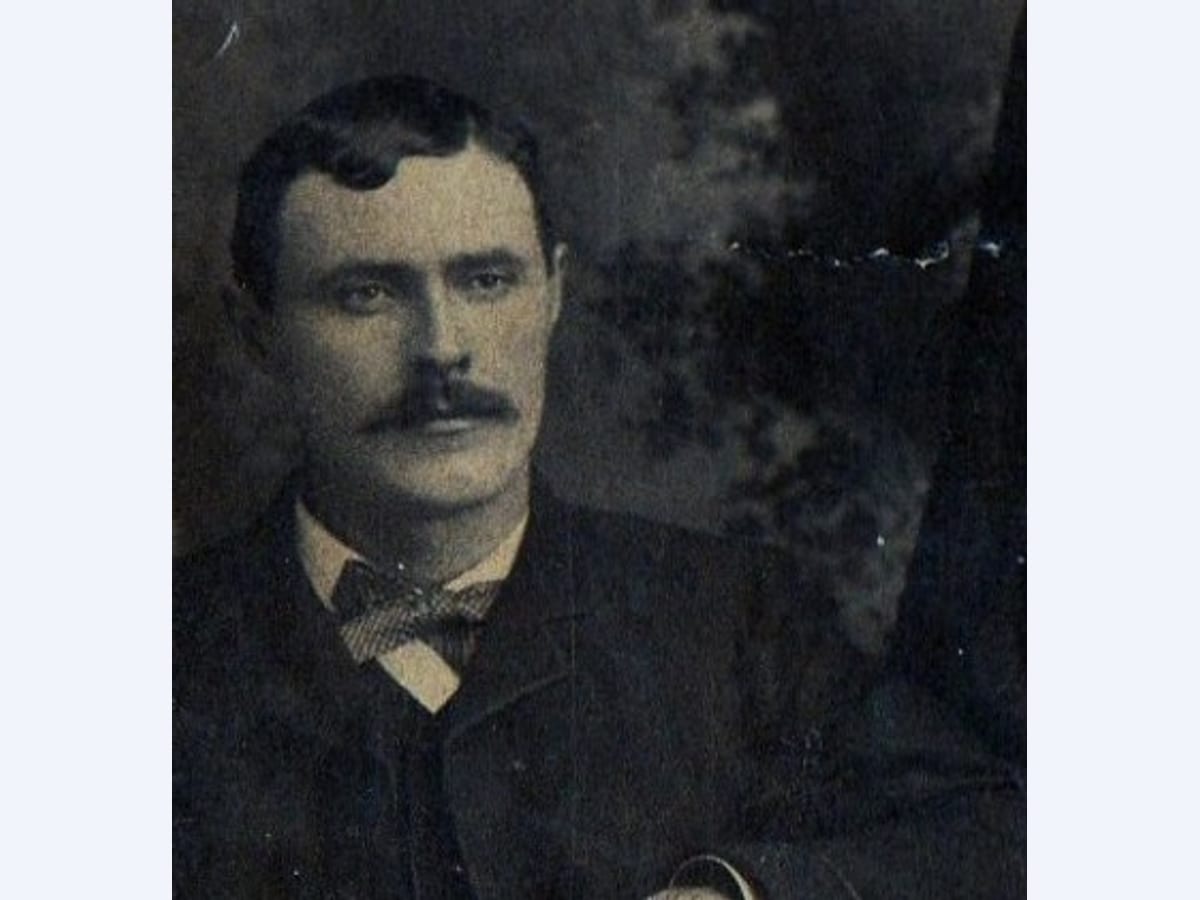
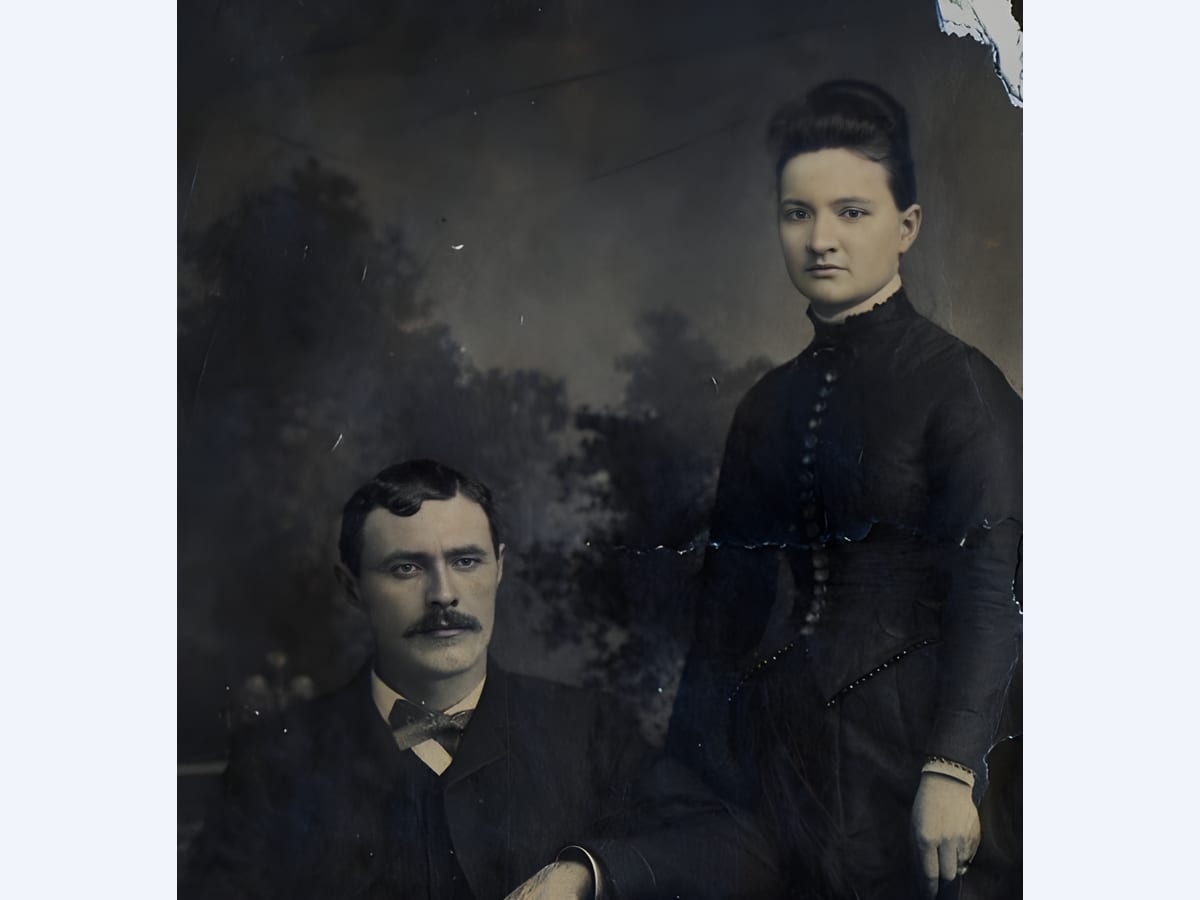
BeforeAfter
Quick verification to keep processing fast for everyone.
Best for
For files that are too small for where they need to go.
Reach for Upscale when the file itself is too small for where it needs to go. If the resolution is already fine and the picture just looks soft, Sharpen is the closer fit.
Product photos that need to survive a zoom on a storefront page
Web-resolution images headed for print
Old screenshots too small for a modern layout
Cost and commitment
Your first result is free, full resolution, no account needed.
5 signup credits after account creation.
Uploads are processed for your result and not used for training.
Enlarging an image in an editor spreads the pixels you already have across a larger grid and guesses the gaps by averaging neighbors. The file gets bigger. The information does not. A 400 pixel wide product shot blown up to 1600 pixels holds exactly as much detail as it did before, spread thinner, which is why it reads as soft rather than large.
A model trained on how real detail behaves does something different. It has seen how fabric weave, printed text, brick, hair, and skin resolve at higher resolution, so when it meets a soft edge it reconstructs a plausible version of what was there rather than smearing the average across it.
The honest limit is that this is still reconstruction. It works well when the original holds a faint trace of the structure. It works badly when the source is so small or so compressed that the trace is gone, and pushing it there produces detail that looks convincing and is not real.
Where enlargement usually goes wrong
The failure that gives cheap upscaling away is texture that turns plastic. Skin loses its pores and goes waxy, fabric loses its weave, and foliage turns into soft green shapes. It happens because the model smooths anything it cannot resolve, and smoothing is the safest thing it can do. Upscale is weighted the other way, towards keeping texture even when that means keeping a little of the roughness with it.
The second failure is amplified noise. Grain and compression blocks are structure too, so a model that faithfully enlarges structure will faithfully enlarge those. If the source is noisy as well as small, run Denoise first and enlarge the cleaned file. Doing it the other way round means the enlargement locks the grain into the output at four times the size.
The third is text. Small lettering that has already broken down into a few gray pixels does not survive enlargement, and models tend to reconstruct it into letter-shaped marks that are not letters. If the text has to be legible, reshoot or rescan rather than enlarge.
What the source file needs to be
JPG, PNG, and WEBP all work. The output comes back as a PNG so the enlargement is not immediately re-compressed.
Start from the least processed version you have. An image that has been exported, uploaded to a messaging app, and saved again has picked up compression at every step, and each pass has thrown away detail that enlargement then has to invent. The original file off the camera or the original scan gives a noticeably better result than the copy that has been round-tripped through three services.
Very large scans can exceed what the model will process in one pass. If a big file fails, reduce it slightly and try again.
Product photography and listing images
Storefronts crop and zoom. A listing photograph that looks acceptable in a grid gets opened at full width, and marketplaces frequently require a minimum edge length before they will accept an image at all. Old catalog files that predate those rules are the usual reason to enlarge.
Judge the result at the size a customer will see it, not at the size it sits in your admin panel. Open the enlarged file at full width and look at the parts of the product a buyer would look at: stitching, a printed label, the grain of a material, the join between two parts. Those are the areas where reconstruction is doing the most guessing, and where a bad enlargement shows first.
If the product photograph is also lit badly or shot against a busy background, enlargement will not help with either. Background remove handles the second, and there is no substitute for reshooting the first.
Enlarging for print
Print needs more pixels than a screen does. A photograph that looks fine on a display at 1000 pixels wide is roughly three inches across at print resolution, which is smaller than most people expect.
Work backwards from the size you need. Multiply the printed width in inches by 300 to get the pixel width the printer wants, then compare that against what you have. If a web image is well short of it, enlargement is the only route left, and it is worth accepting that a print from an enlarged file will not match one from a native high-resolution capture.
If the file is already large enough and the print still looks flat, the problem is clarity rather than size, and Sharpen addresses it more directly.
FAQ
Common questions
How many credits does upscale use?
Upscale uses 2 credits per image.
Can I upscale photos from my phone?
Yes. JPG, PNG, and WEBP all work, and the output comes back as a high-quality PNG.
When should I upscale instead of sharpen?
Upscale when the file itself is too small. Sharpen when the resolution is fine but the image looks soft.
How large can the source image be?
Very large scans can exceed what the model will process in one pass. If a big file fails, downscale it slightly and try again.
Will it make skin look plastic?
That is the specific failure it is tuned against. Texture is kept even where keeping it means keeping some roughness with it.
Should I denoise before or after upscaling?
Before. Enlarging a noisy file locks the grain into the output at a larger size, so run Denoise first and enlarge the cleaned image.
Can it recover small text in an image?
Usually not. Lettering that has already broken down into a few gray pixels has lost the structure, and what comes back tends to be letter-shaped rather than readable.
How much resolution do I need for print?
Multiply the printed width in inches by 300 to get the pixel width a printer wants, then compare that against the file you have.
What format do I get back?
A PNG, so the enlarged image is not immediately re-compressed.