AI Background Remover that survives hair and glass.
Cutouts fall apart at the hard parts: hair, glass, anything semi-transparent. That is where this one is worth judging. Upload a difficult photo, not an easy one.
First result free, full resolution·No account needed
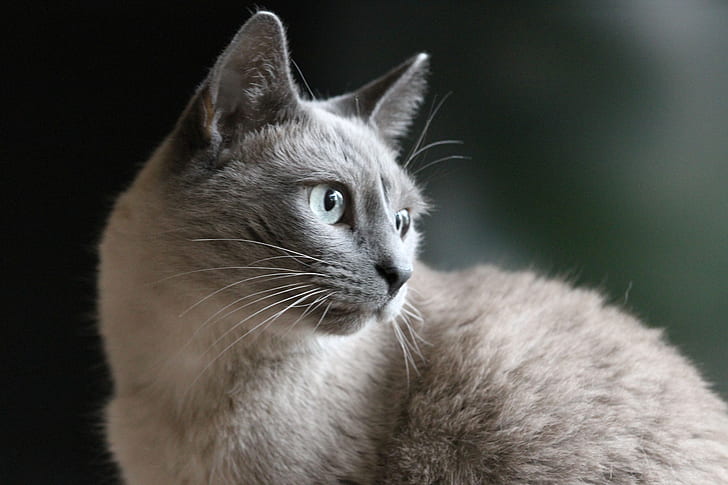
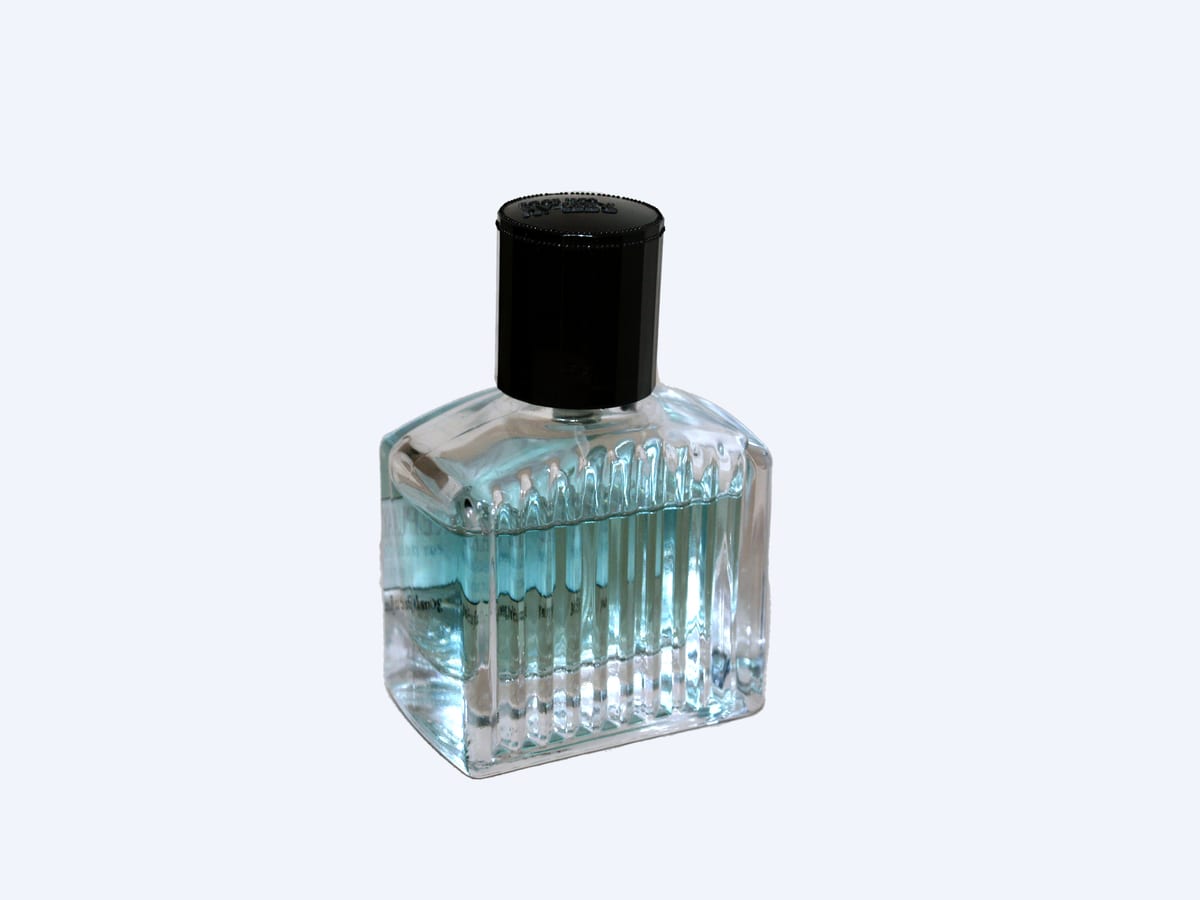
BeforeAfterSource photo: Zunter, CC BY-SA 4.0
Quick verification to keep processing fast for everyone.
Best for
For subjects that need to work on any background.
Built for product listings, ad assets, and profile pictures that need the subject on its own. If the source photo is damaged as well, run Restore first and cut out afterwards.
Product listings that need a plain background
Campaign assets
Profile and team photos
Cost and commitment
Your first result is free, full resolution, no account needed.
5 signup credits after account creation.
Uploads are processed for your result and not used for training.
1.Upload your image
2.Choose Background Remove
3.Check the edges at full size
4.Download the transparent PNG, or keep it in the workspace
Cutting a subject out of its background is easy across most of the boundary and very hard along a few centimeters of it. A jacket sleeve against a plain wall is a clean line that any tool will find. The difficulty is concentrated in the places where the boundary is not a line at all.
Hair is the standard example. At the edge of a head, individual strands are thinner than a pixel, so each of those pixels is genuinely part background and part hair. A tool that decides each pixel is one or the other produces a hard, chopped outline that looks cut with scissors. Handling it properly means assigning partial transparency, so the strand fades rather than stops.
Glass, smoke, water, netting, and lace pose the same question in a different form. The subject is there, and the background is visible through it, and both facts have to survive into the output.
This is why an easy test image tells you almost nothing. Upload the photograph you are actually worried about.
What you get back and how to use it
The output is a PNG with a transparent background at the resolution you uploaded. Transparency is stored in an alpha channel, which PNG supports and JPG does not, so saving the result as a JPG at any later point will fill the transparent area with solid white.
Because partial transparency is preserved, the cutout composites correctly onto a new background rather than sitting on top of it with a visible fringe. Place it on the color or scene you need and the semi-transparent edge pixels blend into whatever is behind them.
One consequence worth knowing: a cutout made against a strongly colored background can carry a faint tint of that color in its edge pixels, since those pixels really did contain some of it. Against a new background of a similar tone it will not show. Against a very different one it occasionally will.
Photographing for a clean cutout
Separation is what makes the boundary findable, and it comes from contrast in tone rather than from any particular backdrop color. A dark product against a dark background is hard regardless of how carefully it was lit, and a white product on white is the case that defeats most tools.
Light the background separately from the subject where you can, so that the two do not merge in the shadows. Keep the subject away from the wall behind it, which prevents a cast shadow from reading as part of the object. Avoid shooting through a doorway or against a busy scene, where edges in the background compete with the edge you want.
For a person, tied-back hair cuts out far more cleanly than loose hair, which is worth knowing when the photograph is being taken for a profile or a team page and there is still a choice to make.
Listings, ads, and profile images
Marketplaces frequently require a plain background on the main listing image, and a cutout is the usual way to meet that rule from photographs that were not shot in a studio. Once the subject is isolated it can be placed on white for the primary image and on something more designed for the secondary ones, from the same source file.
For advertising the value is different: the subject becomes reusable. One cutout can be placed into several layouts and sizes without reshooting, which is generally what makes the effort worthwhile.
For profile and team photographs, the point is consistency. A set of headshots taken in different rooms at different times becomes a coherent set once each subject is on the same background.
When to fix the photograph first
Cutting out comes last. If the source is an old or damaged photograph, Restore first gives the model a cleaner edge to find, and repairs made after cutting out have to work around a transparent boundary.
If the image is noisy, Denoise first, because speckle along the subject boundary makes that boundary harder to locate. If the file is small, run the cutout first and Upscale afterwards, since enlarging a transparent PNG keeps the alpha channel intact.
Check the result at full size before you use it anywhere, and look specifically at the places named earlier rather than at the picture as a whole. A cutout that is wrong is usually wrong along a short stretch of boundary while the rest is perfect, so scanning the outline is more useful than forming a general impression of it.
Cost and what a free result includes
The first result is free, at full resolution, with no watermark and no account. That is deliberate: a cutout can only be judged by looking at its edges at full size, and a reduced or watermarked preview would hide the exact thing you need to inspect.
After that, background removal costs 2 credits per image. Creating an account adds signup credits, and uploads are processed to produce your result rather than being used for training.
FAQ
Common questions
How many credits does background removal use?
Background removal uses 2 credits per image.
What do I get back?
A PNG with a transparent background, so you can drop it onto whatever you need.
Does it handle hair and glass?
Those are the cases worth testing it on. Try one of your harder photos first — an easy cutout tells you very little.
Is it suitable for ecommerce listings?
Yes. If the original is a damaged or aged photo, Restore first gives the cutout more to work with.
Can I save the result as a JPG?
You can, but JPG has no alpha channel, so the transparent area becomes solid white. Keep the PNG if you still need to place the subject on something.
Why is there a faint color fringe on the edge?
Edge pixels genuinely contained some of the old background, so a strongly colored backdrop can tint them. It shows only against a very different new background.
What kind of photo cuts out most cleanly?
Anything with tonal separation between subject and background. A dark product on a dark backdrop is hard, and white on white is the hardest case.
Should I remove the background before or after upscaling?
Cut out first. Enlarging a transparent PNG with Upscale keeps the alpha channel, and a cleaner edge is easier to find at the original size.
Does it keep the original resolution?
Yes. The PNG comes back at the resolution you uploaded, with nothing cropped.