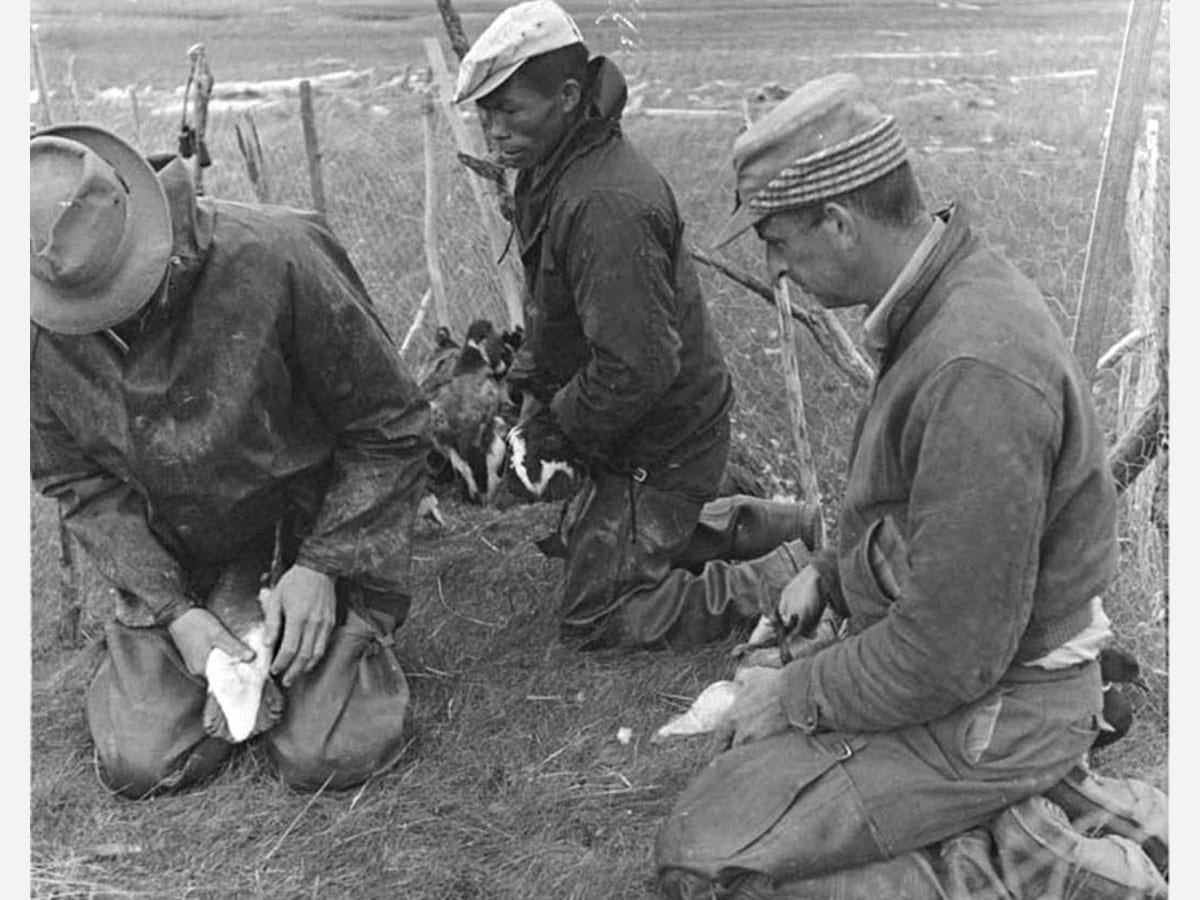
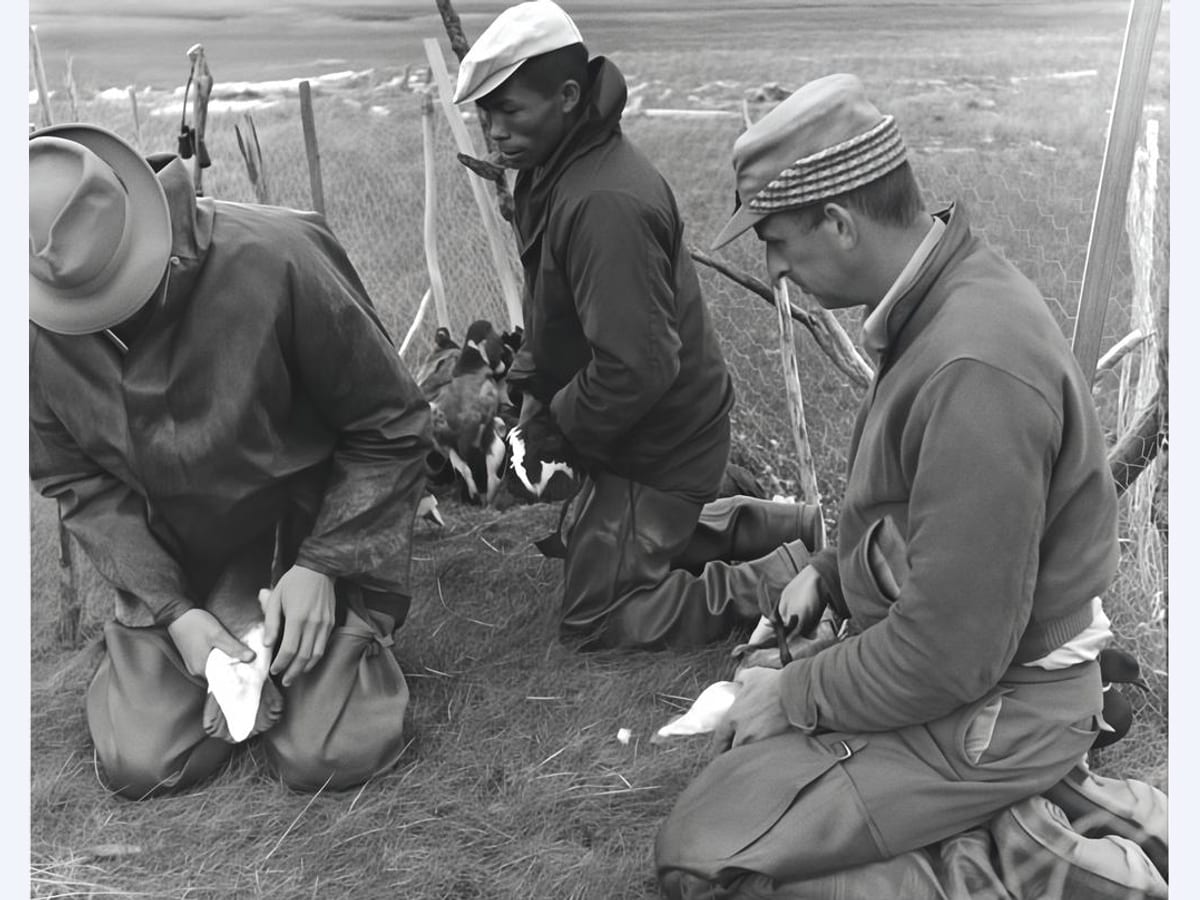
Photo Scratch Repair AI that touches the damage and nothing else.
Sometimes the photograph is fine and the surface is not. Scratch Repair takes out dust and scratch marks and leaves everything else exactly as it was.
First result free, full resolution·No account needed
BeforeAfter
Quick verification to keep processing fast for everyone.
Best for
The narrow option, for when the photograph is already good.
The deliberately narrow option. It changes less than Restore does, which is the point when the print is already good and you only want the scan marks gone.
Album scans speckled with dust
Prints with fine surface scratches
Scans being prepped before retouching
Cost and commitment
Your first result is free, full resolution, no account needed.
5 signup credits after account creation.
Uploads are processed for your result and not used for training.
A photograph can be in excellent condition and still scan badly. The image itself is intact, the tones are where they should be, and what stands between you and a clean file is a layer of dust, a few fine scratches, and whatever the album sleeve pressed into the surface.
That is a different problem from a print that has faded, shifted in color, or cracked along a fold. Those are changes to the photograph. Dust and surface marks sit on top of it, and the picture underneath is complete.
Scratch Repair exists for the first case. It looks for marks that behave like surface damage rather than image content, replaces them using what surrounds them, and leaves everything else exactly as scanned. Tone, contrast, and color are not adjusted, because on a print that is already good those adjustments are a risk with no upside.
What counts as surface damage
Dust is the most common and the easiest. Particles on the print or on the scanner glass appear as small light or dark specks with no relationship to the picture, and filling them from the surrounding area is close to lossless.
Fine scratches are thin lines, usually brighter than what is around them, often running in a consistent direction from being stacked or slid against other prints. These are repairable as long as the line is narrow enough that the image content continues recognizably on both sides.
Scan marks and lint are the same problem introduced at scanning time rather than during the photograph's life, and they behave identically.
What does not fit here: a crease that has cracked the emulsion along its length, a tear, a missing corner, or a stain that has soaked through. Those have removed image content rather than covered it, and reconstructing them is Restore's job.
Why doing less is the point
Every automated repair is a decision made without asking you. On a photograph that has already lost a great deal, more decisions are worth accepting because the alternative is worse. On a photograph that is nearly right, each additional decision is a chance to change something you wanted kept.
The cases where this matters are the ones with something specific in them. A studio portrait with careful lighting, where a global tone adjustment flattens what the photographer built. A print whose slight warmth is how it has always looked to the family that owns it. A scan being prepared for retouching by hand, where every automated change is something the retoucher has to work around or undo.
In all three, the narrow pass is the correct tool, and running the broader one would be an error rather than a preference.
Getting the scan right
Clean the scanner glass before you start. Dust on the platen is recorded as damage and then treated as damage to repair, so a smeared glass creates work and slightly degrades the file for no reason.
Scan at 600 dpi or higher, and save as PNG or high-quality JPG. Higher resolution helps here for a specific reason: the model separates a scratch from image detail by how it behaves across neighboring pixels, and a low-resolution scan gives it fewer pixels in which to tell the difference.
Leave the scanner's own dust and scratch removal turned off. Hardware dust removal on film scanners and the software equivalent on flatbeds both work by softening, and they will have already blurred the areas you are about to ask for a targeted repair on.
Choosing between this and a full repair
The test is whether the photograph itself has changed. Hold the print at arm's length and ignore the surface. If the tones look right and the color looks like it always did, the print is fine and only the surface needs attention. If it has gone pale, drifted warm, or lost its blacks, the print has aged and Restore is the one that addresses it.
You can also run this first and decide afterwards. Clearing the surface marks often makes the underlying condition easier to judge, because dust and scratches read as general untidiness and disguise how good the photograph actually is.
If grain remains after either pass, Denoise handles it, and it is worth doing last so it works on an already repaired file.
There is no penalty for trying the narrow pass first beyond the credits it costs, and a good deal to be said for it. The broader repair changes tone and color across the whole frame, and once you are looking at that version it becomes harder to remember what the print actually looked like. Starting narrow keeps the original in view as the reference.
Preparing a scan for hand retouching
If the photograph is going to a retoucher, or to you in an editor later, this pass earns its place by removing the tedious part without making any of the judgment calls.
Dust spotting is the work nobody wants: hundreds of individual specks, each one trivial and none of them interesting. Clearing them automatically leaves the retoucher looking at a file where the remaining problems are the ones that actually need a person, and where nothing has been decided about tone or color that they would then have to reverse.
FAQ
Common questions
How many credits does scratch repair use?
Scratch repair uses 2 credits per image.
Is this the same as Restore?
No, and the difference matters. This targets surface damage only. Restore also handles fading and color, and changes more of the image doing it.
Can I use it on scanned prints?
That is its main use. If the scan has faded or shifted in color as well, Restore covers more ground, and Denoise helps with any grain left over.
Will it change the tone or color of my print?
No. Tone, contrast, and color are left as scanned. Only marks that behave like surface damage are touched.
Can it repair a tear or a missing corner?
No. Those have removed image content rather than covered it, which is reconstruction rather than cleanup. Restore is the one for that.
How do I know which of the two I need?
Look at the print and ignore the surface. If the tones still look right, the photograph is fine and only the surface needs work.
Should I turn off my scanner's dust removal?
Yes. Both hardware and software dust removal work by softening, and they blur the areas you are about to ask for a targeted repair on.
What resolution should I scan at?
600 dpi or higher. The model separates a scratch from real detail by how it behaves across neighboring pixels, so more pixels give it more to judge on.